Attach source file in Eclipse : When we include jar file in eclipse and add to its class-path it only include *.class file and if your need is to see the actual java file of included jar you will have to include it’s src file. Below example will show you how to include src file to existing jar file. For demo I am including src file of JDK rt.jar. Please follow below steps to attach source file in Eclipse :
- Open your eclipse
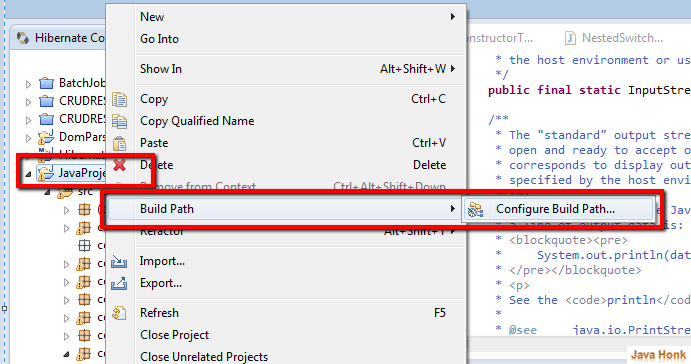
- Right click your project –> Build Path –> Configure Build Path…
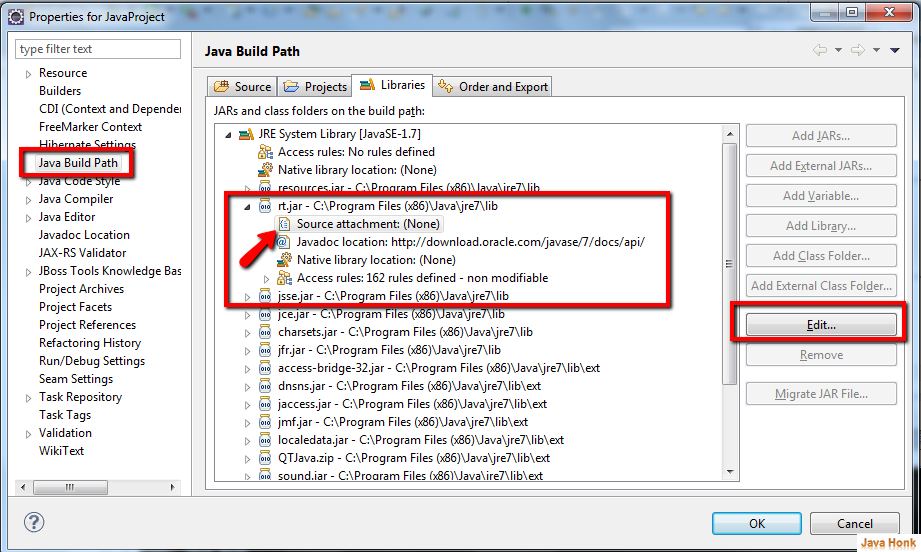
- Click jar file of your choice to attach src file ( Here as decribe above we are going to attache rt.jar source file so that we will all java library java file in place of class file) . For this expand rt.jar — choose source attachment — Click Edit as shown below:
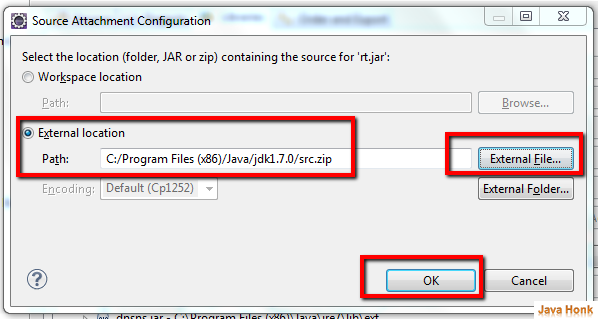
- Click external file and choose location of src file ( for rt.jar — src file include in jdk and its path is your JDK installation home. Once located and selected click OK. Please see below:
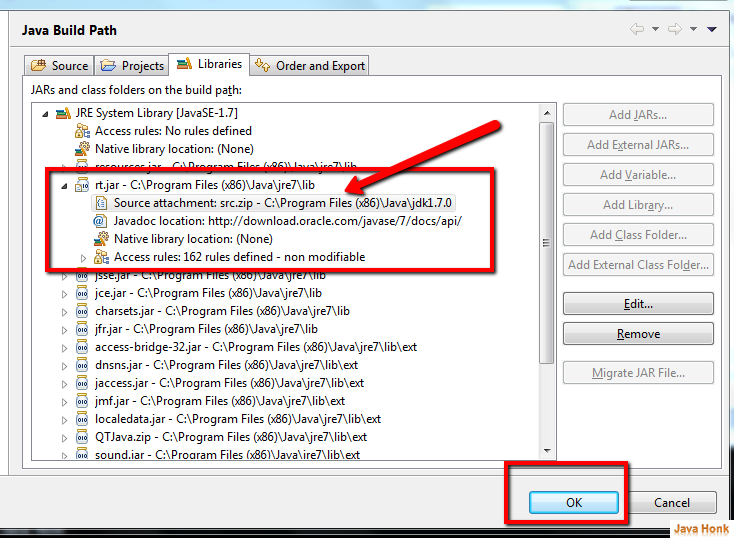
- After click OK you will see src file included in source attachment. Click OK to finish as you see below:
- Now we are all set to see java files of all Java API classes. To see java file of any classes highlight using double mouse click then press F3 key on your keyboard. For example I will show you java String class java file . As you see below I have selected String class using mouse double click then press F3 key it shows java file:
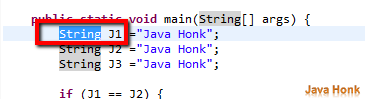
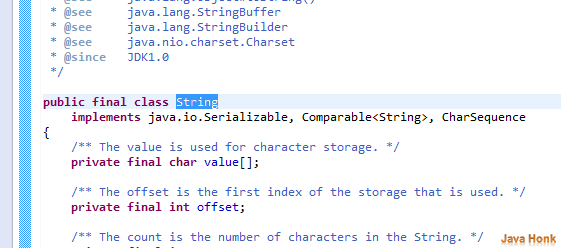
- That’s it to attach source file in Eclipse
