Download Install Node js Windows
In this example you will see how to install Node.js in Windows system. It’s a platform which is build on Chrome JavaScript run-time to build fast and salable network applications. Now a days it’s a standard build tool for any client side application. Node.js is perfect for data-intensive real-time applications which runs across distributed environment. Main purpose of installing this application is to use NPM (Node Packaged Modules) which is default package manager for Node.js. Now NPM bundled with Node.js(version 0.6.3 or later) and installed automatically with the environment. NPM run using command line and manages application dependencies. In next few tutorials we will cover how to use NPM to manages application dependencies. Please follow steps to Download and install Node.js on windows environment.
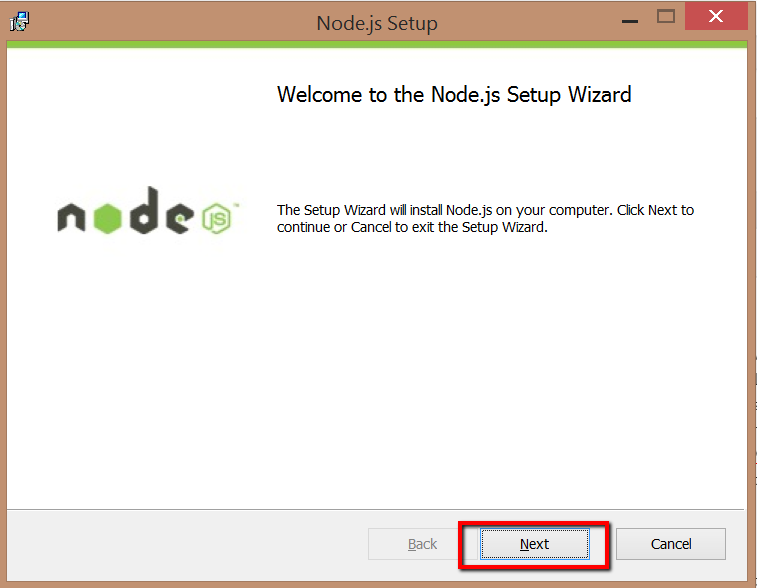
- Go to http://nodejs.org/ and click install. This will download node-v0.x.x-x64 to your local folder. Once download is done click it to start installation process. You will see below click Next:
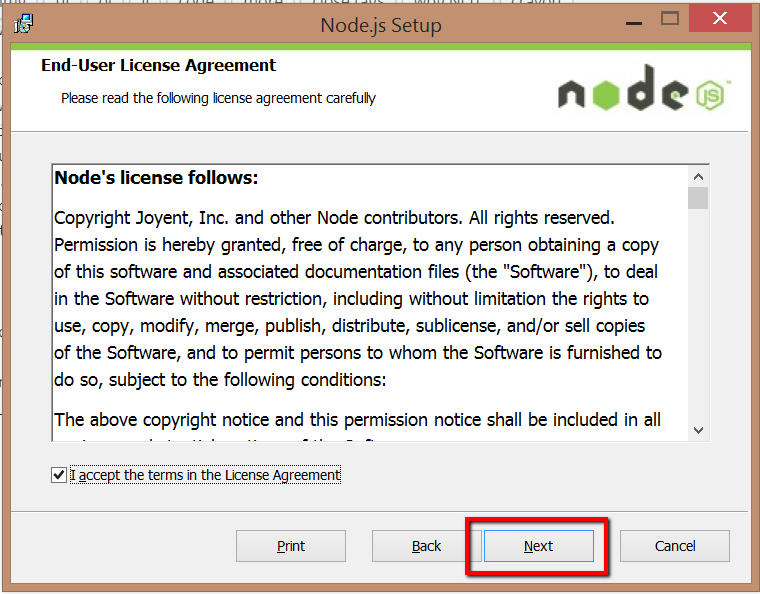
- Accept terms then click Next:
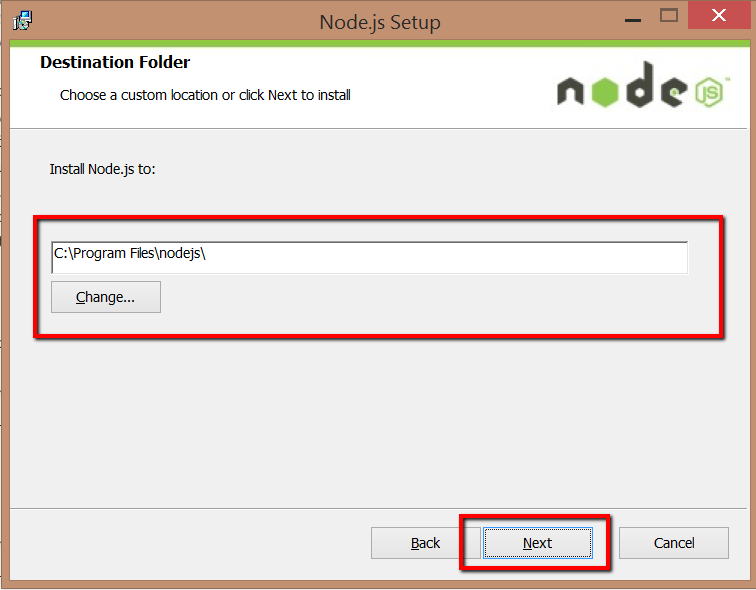
- Choose destination folder where you want to install Node.js (It’s good to keep on its default location) as below then click Next:
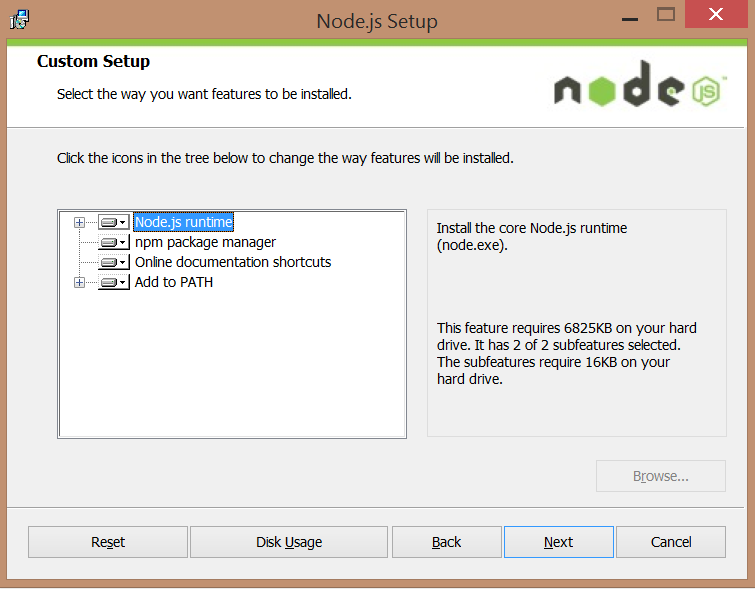
- Choose setup you want to install below. We will install Node.js run-time:
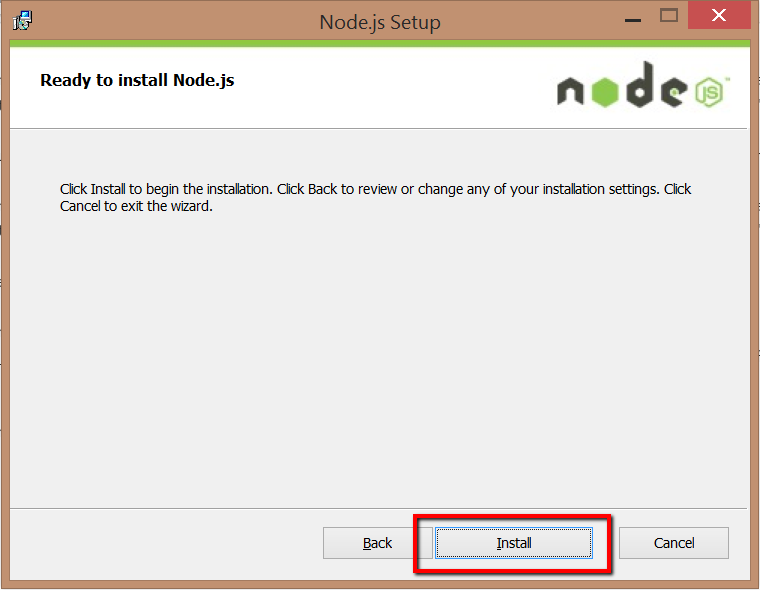
- On next screen click install button to start installation process:
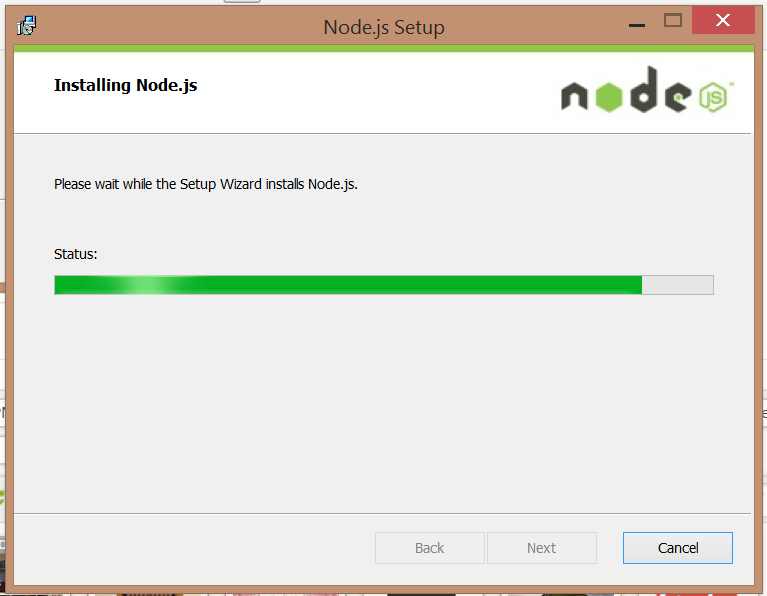
- You will installation process as below:
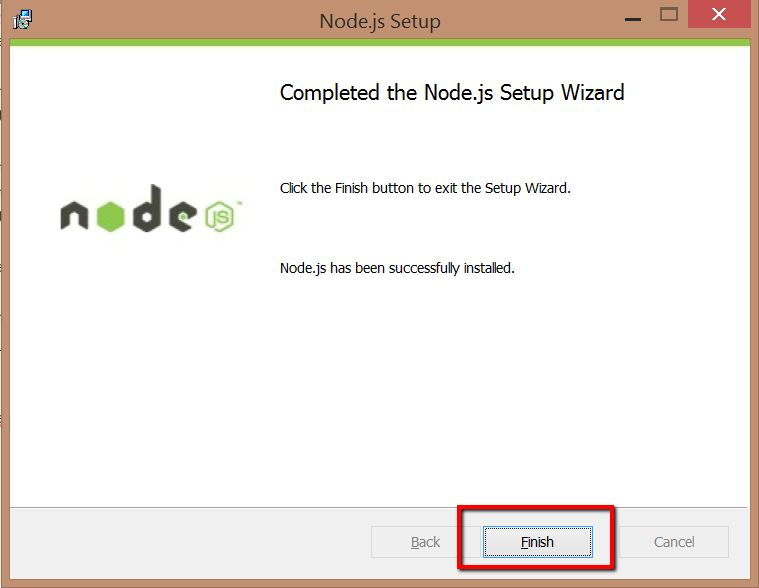
- Finally you will see completed Node.js setup wizard. Click finish:
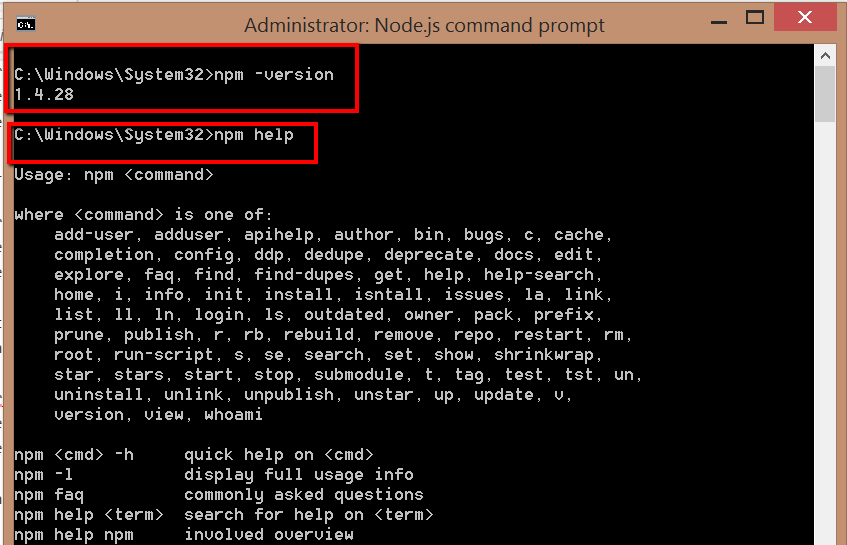
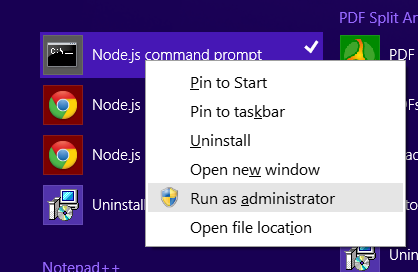
- Now to test if its working properly or not go to start –> Node.js right click Node.js command prompt and run as administrator shown below:
- In the Node.js command prompt type below to see version and its command list:
- That’s it we have installed Node.js successfully.
