Jboss MySQL datasource configuration
Here you will see how to configure MySQL datasource on Jboss application server and use for database connection in application. For this demo we will use Jboss 6.1.0.Final community version.
- Create file name: mysqldb-ds.xml inside jboss-6.1.0.Final\server\default\deploy folder and paste below minimal configuration in it:
<?xml version="1.0" encoding="UTF-8" standalone="yes"?>
<datasources>
    <local-tx-datasource>
        <jndi-name>MySQL_JNDI</jndi-name>
        <min-pool-size>0</min-pool-size>
        <max-pool-size>10</max-pool-size>
		<user-name>root</user-name>
		<password>admin</password>
		<check-valid-connection-sql>SELECT 1 FROM sysobjects</check-valid-connection-sql>
        <metadata/>
        <local-transaction/>
        <driver-class>com.mysql.jdbc.Driver</driver-class>
        <connection-url>jdbc:mysql://localhost:3306/JavaHonk</connection-url>
    </local-tx-datasource>
</datasources>Note: Don’t forget to replace user name password and connection URL based on your data base configuration.
- Copy mysql-connector-java-x.x.jar into jboss-6.1.0.Final\server\default\lib folder. You could download latest version of jar file from maven repository here
- Start server: Go to jboss-6.1.0.Final\bin folder and double click run.bat file.
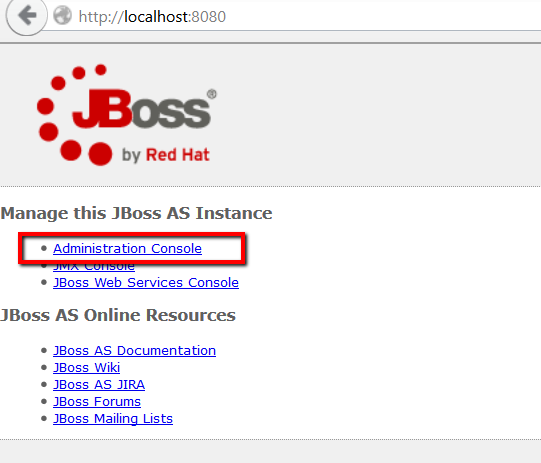
- Once server is started open browser and type http://localhost:8080 (If your port is different than 8080 please change accordingly) . You will see below screen click Administration Console:
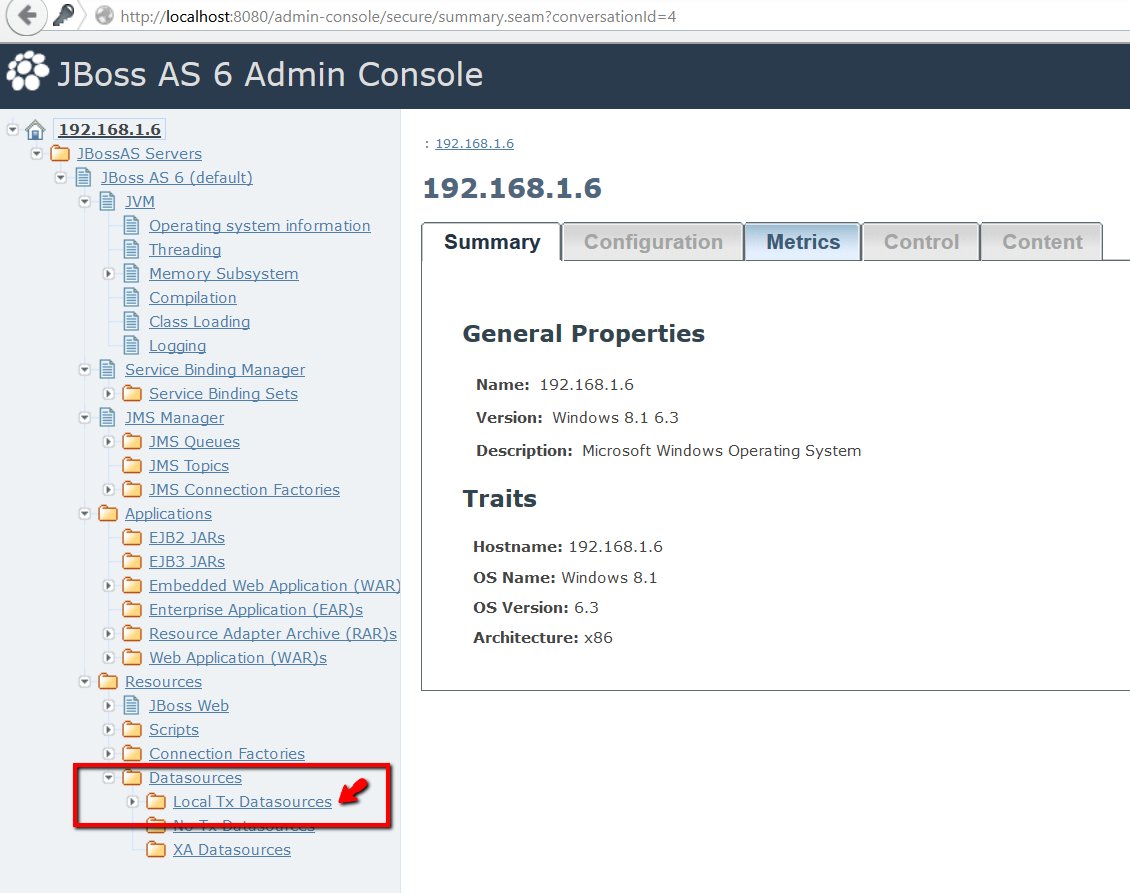
- Enter log in id and password (Default is admin/admin). On administration console screen expand datasource and click Local Tx Datasources
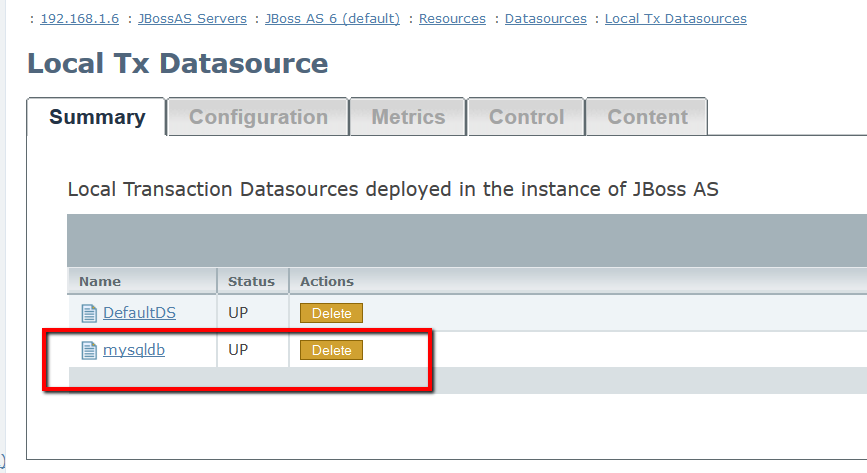
- You will see mysqldb-ds.xml got added as local Tx Datasource as below:
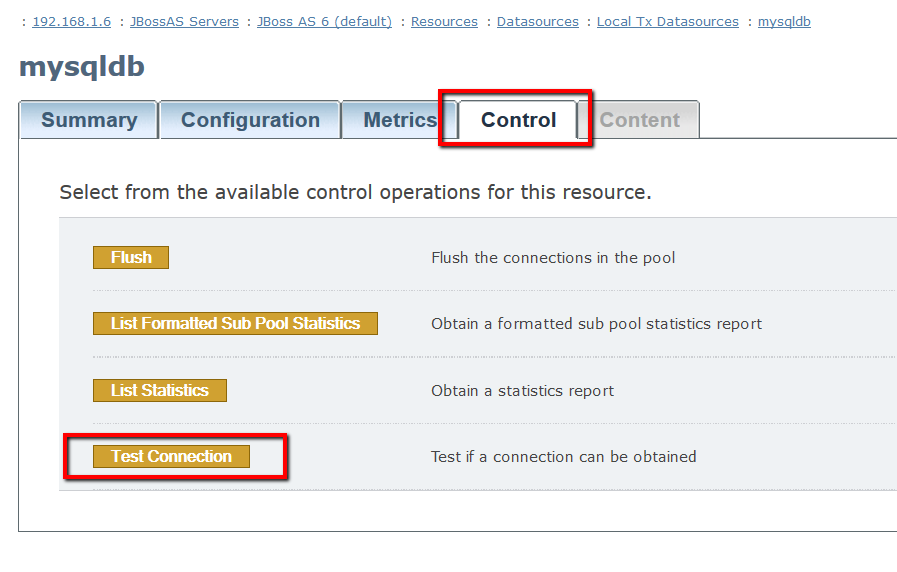
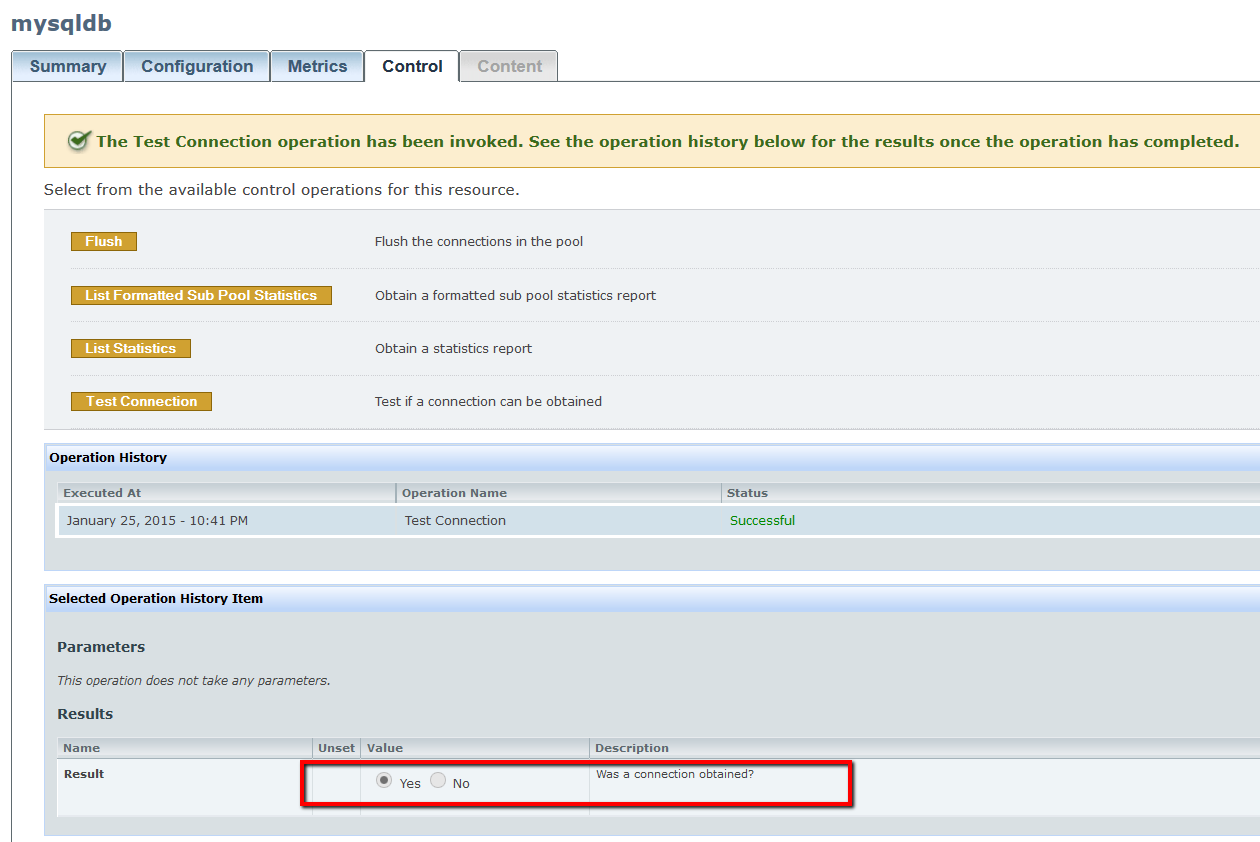
- Click to open its configuration then click control tab –> Test Connection
- If everything setup correctly you see result as below:
- That’s it for more information please refer Jboss documentation here
