AutoSys JIL Validation Web Interface
Last tutorial you saw how to validate AutoSys JIL file by Unix command line. In this tutorial you will see how to validate JIL file using AutoSys web interface.
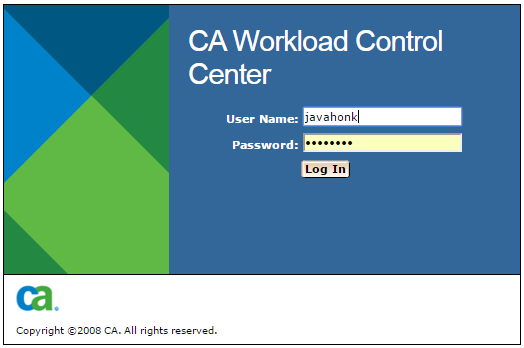
- Log in to CA Workload Control Center using your login credentials:
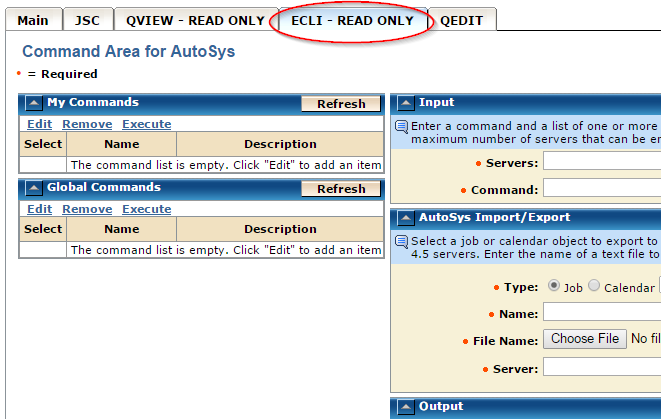
- Click on the ECLI – Read Only tab:
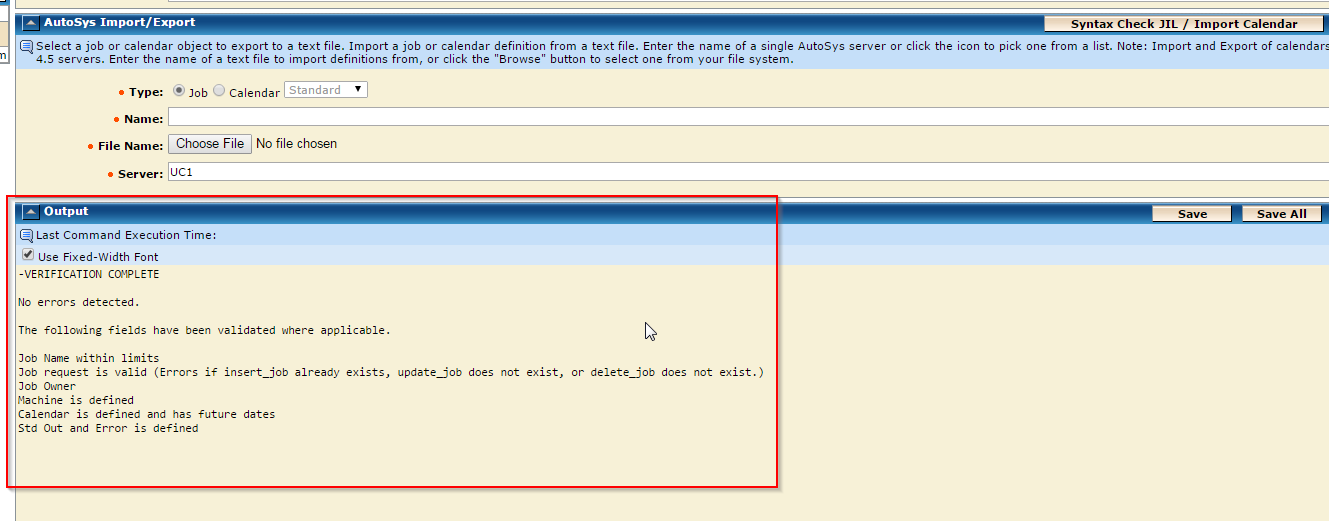
- Use Choose File to browse to your JIL file location and select your server (for example showing UC1) then press the Syntax Check JIL/Import Calendar button.
- If there are no errors you should see result below in the “output” area:
- That’s it. For more details please refer CA documentation here


