Configure Groovy IntelliJ
If you are working with Groovy and using IntelliJ IDE to run program then you will have to configure Groovy to IntelliJ first. Please follow below steps:
- Download and un-zip Groovy to your local drive of you choice Open you IntelliJ
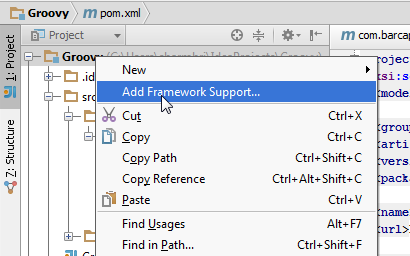
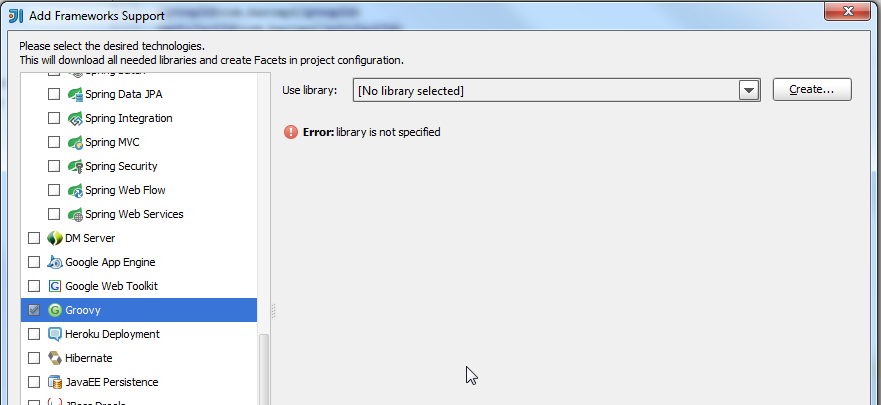
Open your IntelliJ right click Project –> Add Framework Support –> Groovy as below:
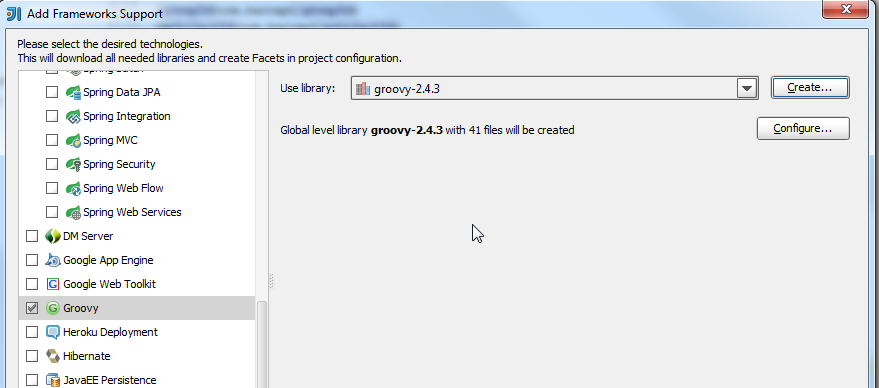
- Now add Groovy library. Click create –> Choose Groovy home directory where you downloaded and un-zip Groovy then click OK. You will see as below:
- Now it’s ready to run Groovy program. Now to create Groovy test class right click package folder –> New –> Groovy Class. Below is sample test Groovy class:
package javahonk

/**
 * Created by Javahonk on 4/20/2015.
 */
class GroovyTest {

    static main(args){
        println "First Groovy program"
    }

}- To run: Right click Groovy class — Run As Groovy Main:
- You will below output on console:


