Configure ICEGrid Node connect Registry
In previous tutorial you saw how to configure and start ICEGrid registry. Here you will see how to configure nodes and connect with registry.
Important to note: You could run multiple number of nodes on the same machine and yes on different machines as well. To run nodes on different machines you will need to update Endpoints properties and Ice.Default.Locator property.
Minimal configuration of node:
Note: The registry requires values for the three mandatory endpoint properties as well as the data directory property
- icegridnode.cfg:
IceGrid.Node.Endpoints=tcp
IceGrid.Node.Name=Node1
IceGrid.Node.Data=C:\JavaHonk\ICE\Node\Node1

Ice.Default.Locator=DemoIceGrid/Locator:tcp -h localhost -p 4061
- Before starting the node you will have to start ICE registry. Please follow steps from this tutorial to configure and start registry then start node as using below:
Go to “C:\Program Files (x86)\ZeroC\Ice-3.5.1\bin” –> This is default install location of ICE
Use command: icegridnode –Ice.Config=location of icegridnode.cfg (Example: icegridnode –Ice.Config=C:\\JavaHonk\\ICE\\icegridnode.cfg)
- Start registry command:
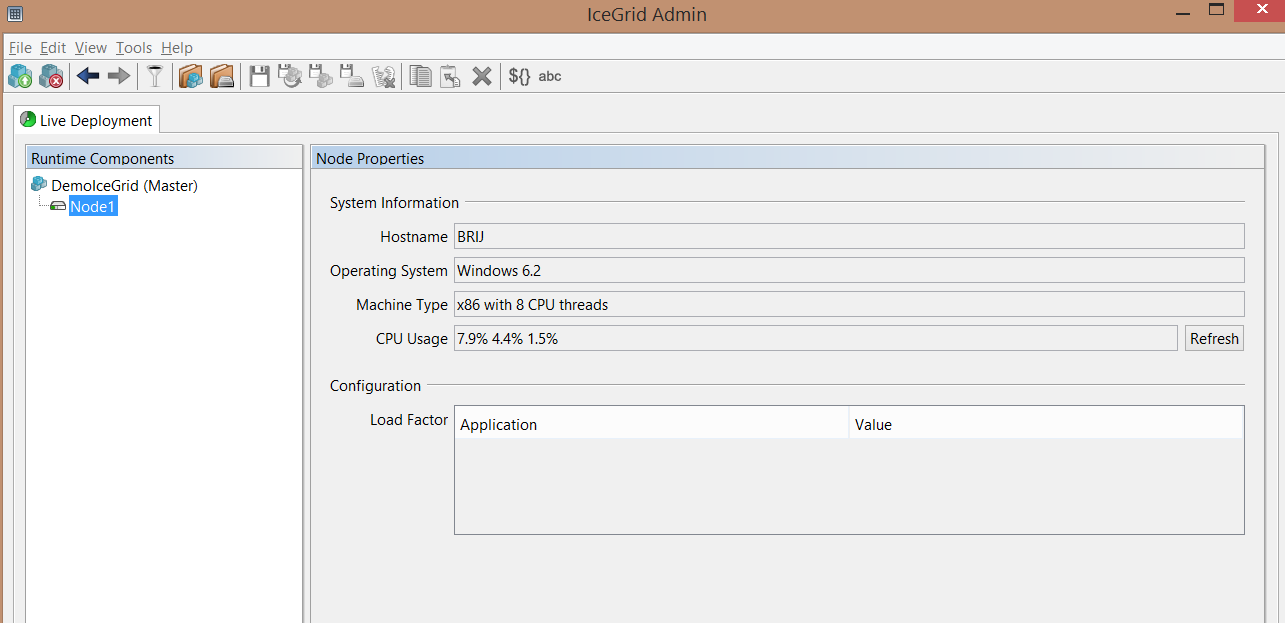
- If you want to see registry and nodes through ICEGrid admin console please follow steps from this tutorial and if both running you will see registry and Node1 connected to it as below:


