Create data source Weblogic server
In WebLogic Server, you configure database connectivity by adding data sources to your WebLogic domain. WebLogic JDBC data sources provide database access and database connection management. Each data source contains a pool of database connections that are created when the data source is created and at server startup. Applications reserve a database connection from the data source by looking up the data source on the JNDI tree or in the local application context and then calling getConnection(). When finished with the connection, the application should call connection.close() as early as possible, which returns the database connection to the pool for other applications to use.
Data sources and their connection pools provide connection management processes that help keep your system running and performant.You can set options in the data source to suit your applications and your environment. Below tutorial describe how to Create data source Weblogic server. Please follow steps below:
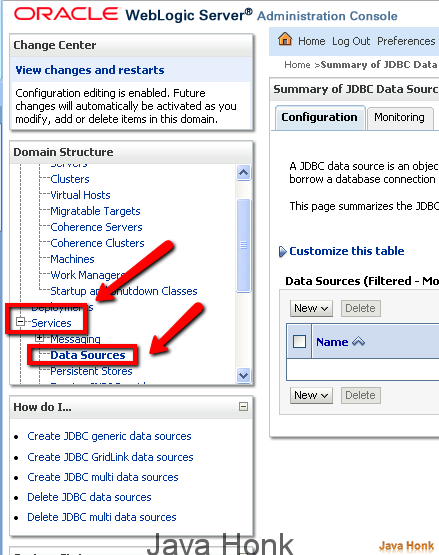
- Log-in to the admin console (Default admin console URL would be: http://localhost:7001/console)
- On admin console click ServicesàData sources
- Click New –> Choose Generic Data Source

- Enter data source name and JNDI name and choose data base type (Demo shows Oracle) — Click Next

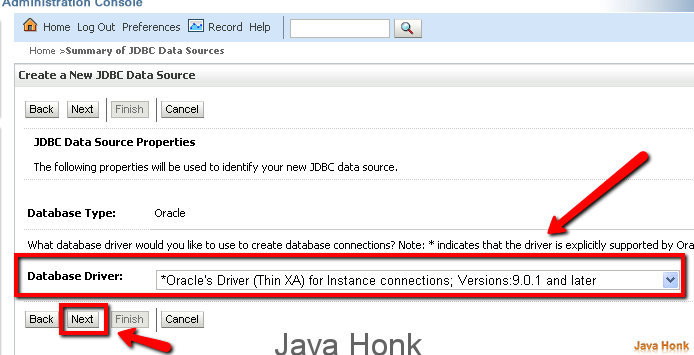
- Choose Database driver as below that is related to oracle –> Click Next
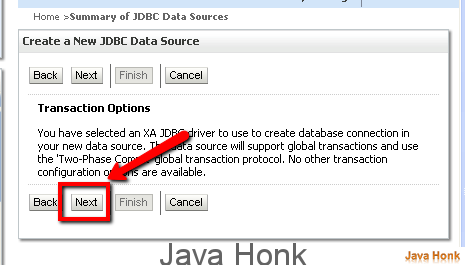
- Click next at Transaction option screen
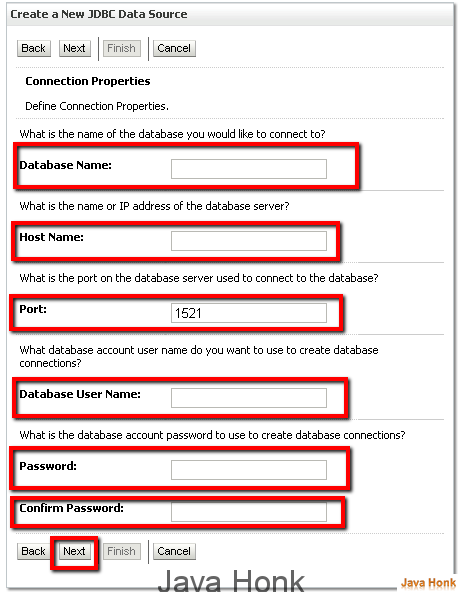
- Below is very important. Database name should be SID of your database and enter host name, port (Default is 1521 for oracle) , database user name and password –> Click Next
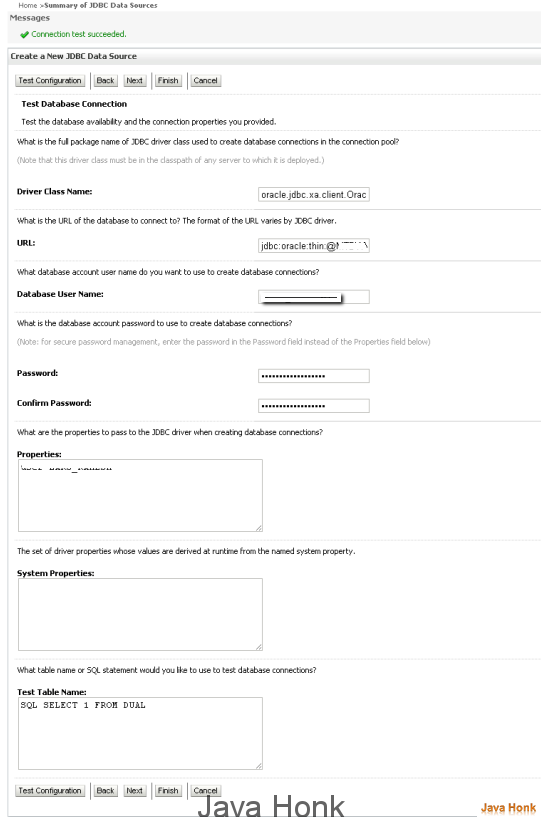
- Next you will below screen with all the configuration data you entered in previous screen –> Test configuration to test the newly created data source it will show you on top success or not –>Click Next
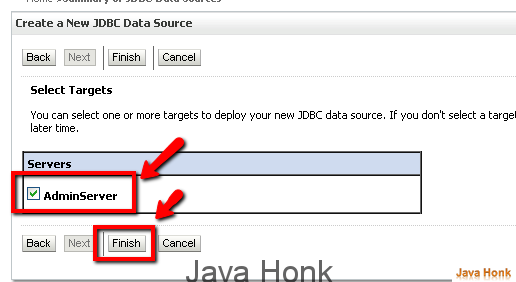
- Next screen you will see option to attach newly created data source to the targets server. For demo we have chosen AdminServer –> Click Finish
- That’s it.
