Create Maven WAR Project Eclipse
In this tutorial you will see how to create maven war project in eclipse. We will use Eclipse Kepler version which comes with built-in maven plug-in. You could either Eclipse Kepler or higher version which comes with maven plug-in. Please follow steps below:
- Open your eclipse
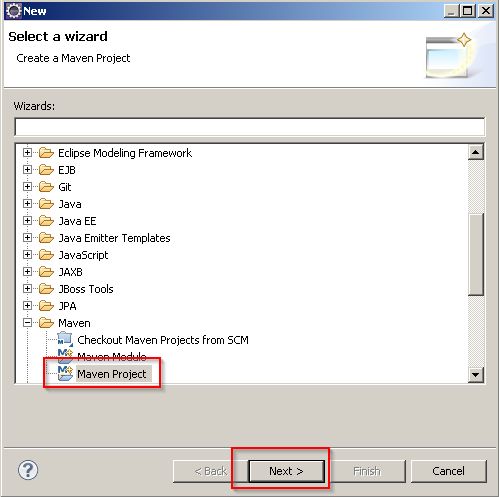
- Click File –> New –> Other –> Maven –> Maven Project then click Next:
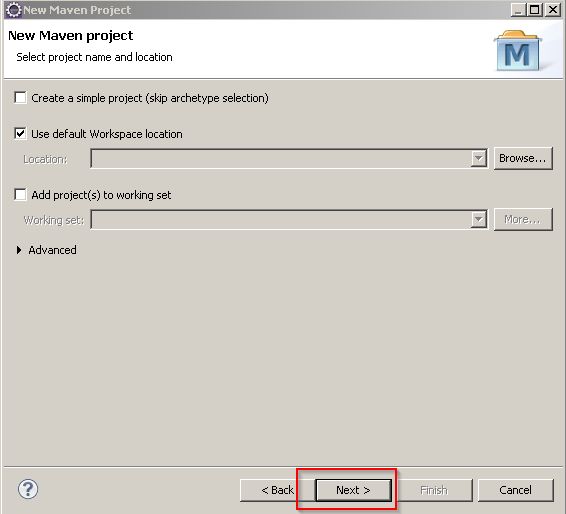
- Next screen keep all default then click Next:
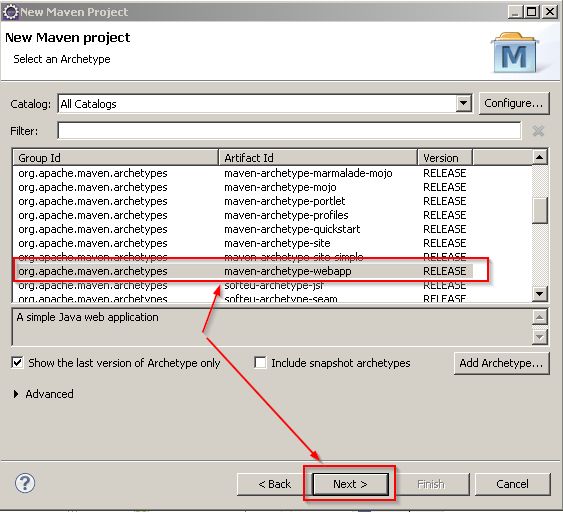
- On next window choose maven-archetype-webapp and click Next:
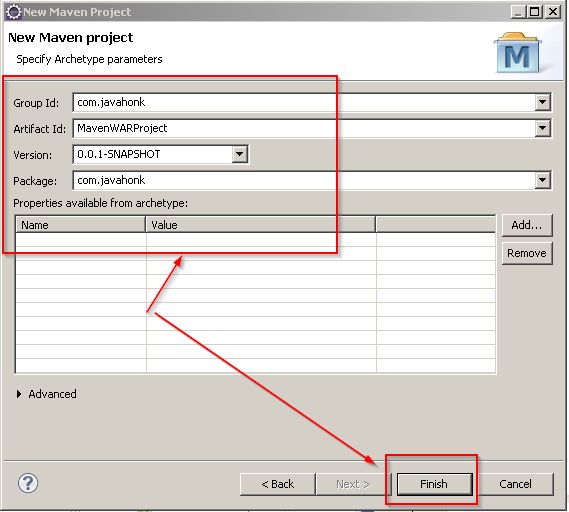
- Next window enter below and click Finish:
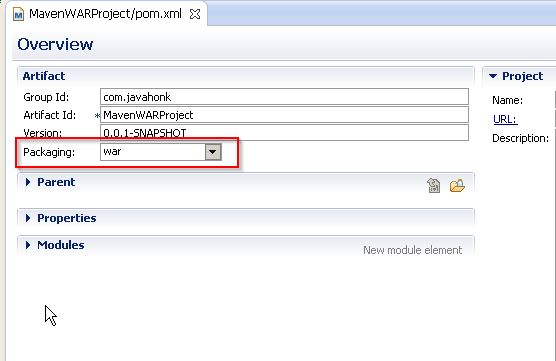
- Now you will see new project name MavenWARProject got created. To check what kind of packaging it is. Double click to open pom.xml file and in overview tab you will below war packaging:
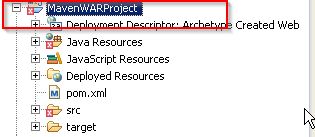
- In newly created project in eclipse you will see red cross error this is because it is web based project and it needs run time servlet from server. Please attach server library using this tutorial
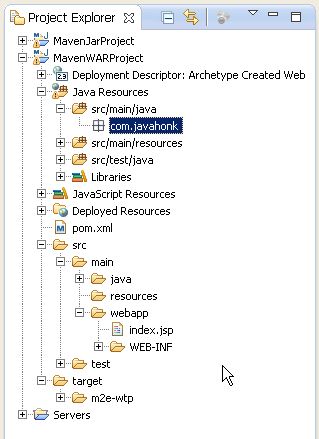
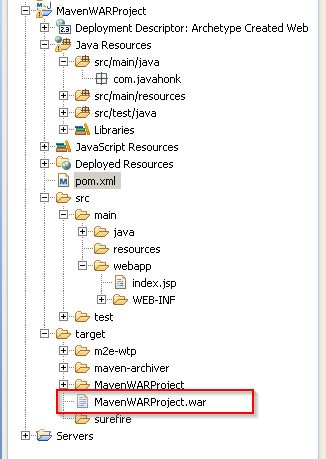
- After adding server run time library you will see error got disappeared. Below is final project structure:
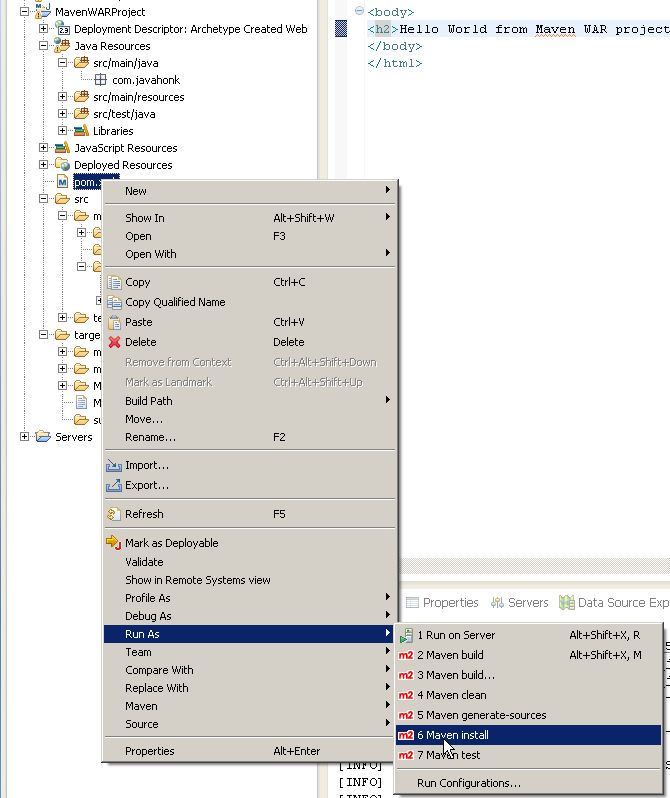
- To package this project in WAR file: Right click pom.xml –> Run As –> Maven Install. This will clean compiles source code, execute unit test, packaging them in War file and put them in target folder.
- Once you see message BUILD SUCCESS on the console refresh and open target folder you will see War file got created.
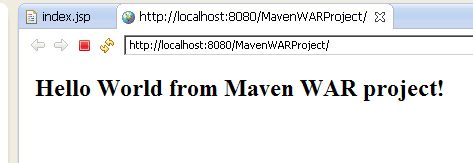
- Now you could copy and deploy this file on any server. For this demo we deployed on tomcat server with below output:
- That’s it for more information about Apache War project please refer their tutorial here
