EJB 2 JBoss 5_1 complete example
If you are trying to understand how EJB 2 works and how to do EJB 2 configuration on Jboss application server. In this demo we will create sample EJB 2 application to add Person in the vector and finally print its value on the console. We are using JBoss 5.1 community edition to deploy our application with eclipse Kepler. Please follow steps below:
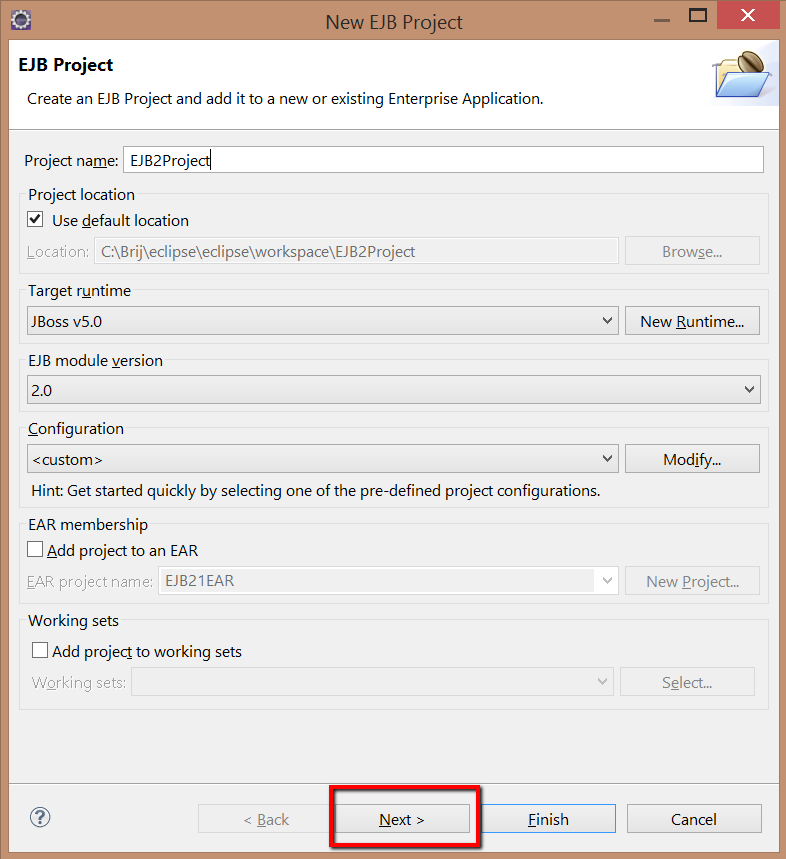
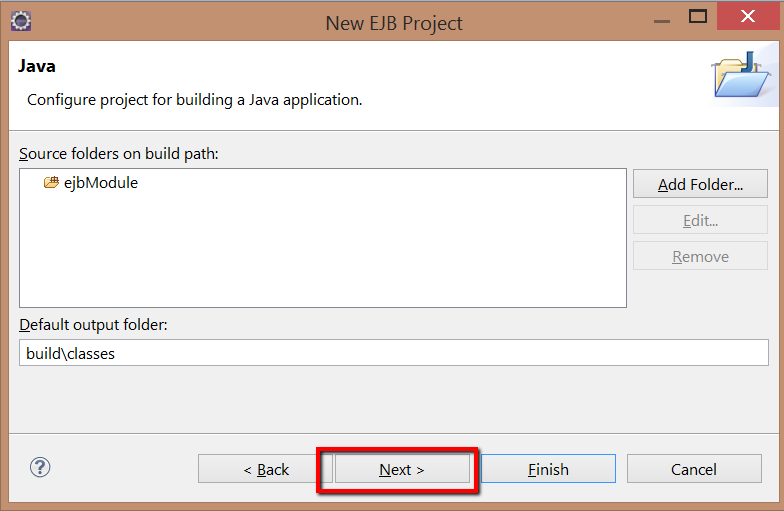
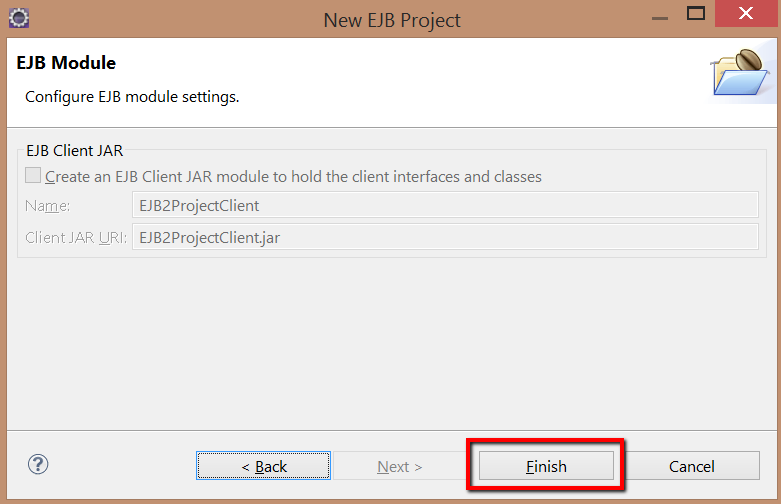
- Create EJB project name: EJB2Project:
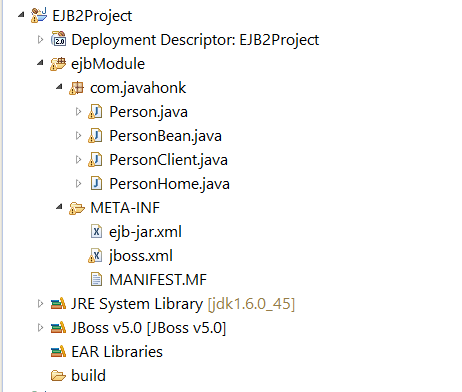
- Now you will see EJB2Project in eclipse and below is final project structure:
- Person.java:
package com.javahonk;

import javax.ejb.*;
import java.rmi.*;
import java.util.*;

public interface Person extends EJBObject {
	public void addPerson(String bname) throws RemoteException;

	public Vector getPerson() throws RemoteException;
}- PersonBean.java:
package com.javahonk;
import javax.ejb.*;
import java.util.*;

public class PersonBean implements SessionBean {
	Vector vector;

	public PersonBean() {
		vector = new Vector();
	}

	public void addPerson(String bname) {
		vector.add(bname);
	}

	public Vector getPerson() {
		return vector;
	}

	public void ejbCreate() {
		System.out.println("calling ejbcreate....");
	}

	public void ejbRemove() {
		System.out.println("calling ejbremove");
	}

	public void ejbActivate() {
		System.out.println("calling ejbactivate");
	}

	public void ejbPassivate() {
		System.out.println("calling ejbpassivate");
	}

	public void setSessionContext(SessionContext sc) {
		System.out.println("calling session context");
	}

}- PersonHome.java:
package com.javahonk;
import javax.ejb.*;
import java.rmi.*;


public interface PersonHome extends EJBHome {
	public Person create() throws RemoteException, CreateException;
}- PersonClient.java:
package com.javahonk;
import java.util.*;
import javax.naming.InitialContext;
import javax.naming.Context;

public class PersonClient {
	public static void main(String args[]) {

		try {
			int choice = 1;
			Properties properties = new Properties();
			properties.put(Context.INITIAL_CONTEXT_FACTORY,
					"org.jnp.interfaces.NamingContextFactory");
			properties.put(Context.URL_PKG_PREFIXES,
					"org.jboss.naming:org.jnp.interfaces");


			//You could use two option URL for context URL
			//Option 1: use below
			//properties.put(Context.PROVIDER_URL, "localhost");

			//Option 2: use below
			properties.put(Context.PROVIDER_URL, "jnp://localhost:1099");

			InitialContext ctx = new InitialContext(properties);

			PersonHome home = (PersonHome) ctx.lookup("JNDIName_Peron");

			Person bean = home.create();
			Scanner scanner = new Scanner(System.in);
			while (choice != 2) {
				String bname;
				System.out.println("Enter value 1 to Add Person and 2 to come Out");
				choice = scanner.nextInt();
				if (choice == 1) {
					System.out.println("Enter person name");
					bname = scanner.next();
					bean.addPerson(bname);
				} else if (choice == 2) {
					break;
				}
			}

			Vector vector = bean.getPerson();

			System.out.println("Total size of vector \t" + vector.size());
			for (int i = 0; i < vector.size(); ++i) {
				System.out.println((String) vector.elementAt(i));
			}

		} catch (Exception exception) {
			System.out.println(exception);
		}
	}
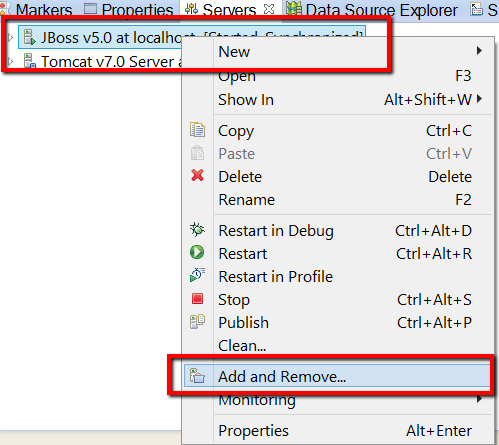
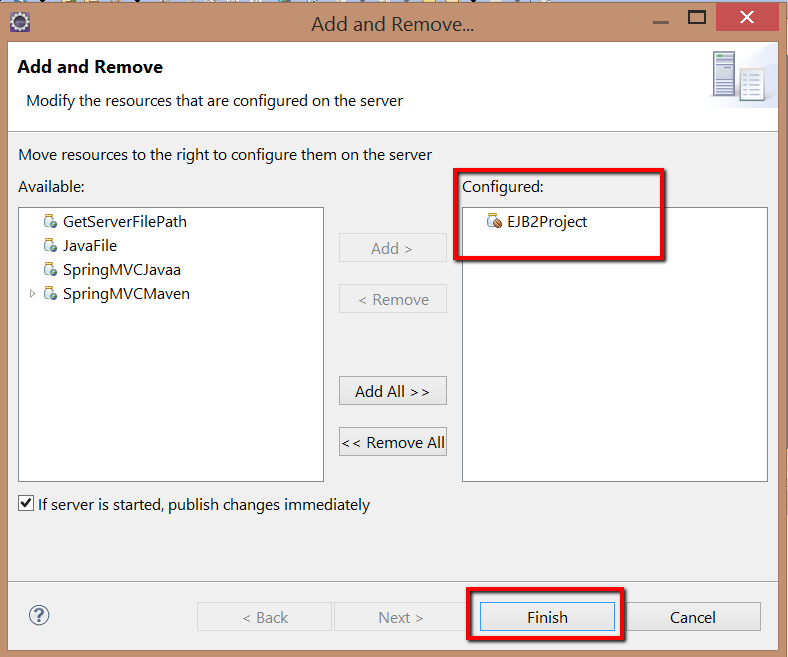
}- Now to run this application in JBoss server you will have to first download JBoss 5.1 community version from here then configure JBoss to eclipse using this tutorial. Once you done with configuration right click server –> Add and Remove
- Add EJB2Project:
- Now right click JBoss server –> clean this will deploy EJB2Project.jar file on JBoss deploy folder. To verify go to jboss-5.1.0.GA\server\default\deploy folder and check if EJB2Project.jar is available or not.
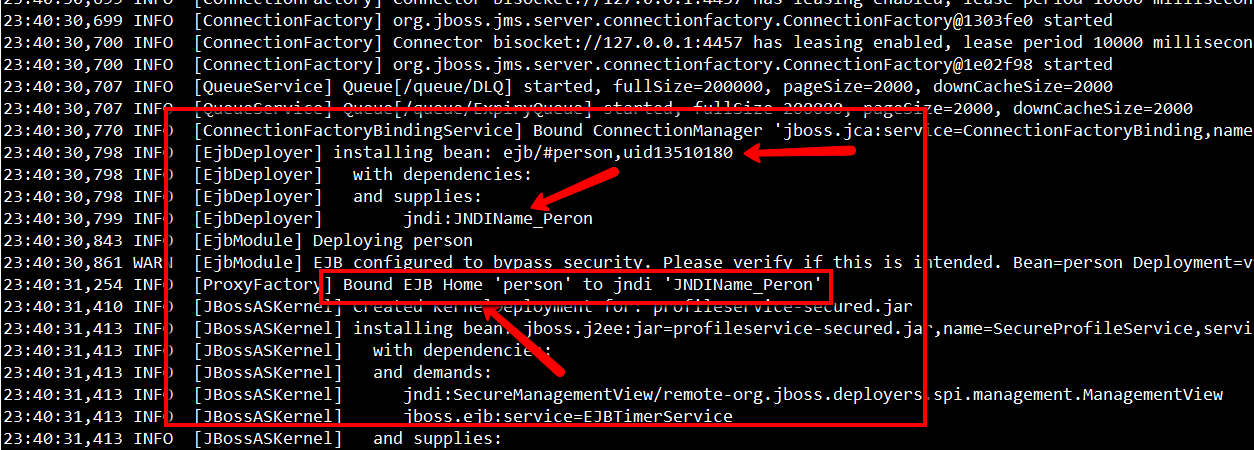
- Next start the server –> Right click server –> Start and check on console or log if below JNDI name are available:
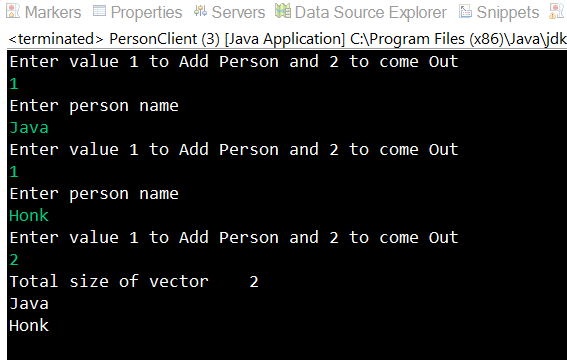
- Finally we are ready to run the client. To run right click PersonClient.java –> Run As –> Java Application enter option 1 to add and 2 to exit you will see below output:
![]() Download Project: EJB2Project
Download Project: EJB2Project
