Spring Boot Tomcat Example
Spring Boot made easy to create stand-alone application which you can “just run”. In last tutorial you saw how to create sample Spring Boot Hello World application. In this tutorial we advantage opinionated view of the Spring platform and third-party libraries so we can get started with minimum fuss. As it comes with Embed Tomcat, Jetty or Undertow directly where you don’t need to create WAR file. I will show you how to use embed tomcat server and run sample RestFul web service with minimal configuration:
Tool needed:
- Eclipse latest version
- JDK 1.8
- Maven 3.2.5
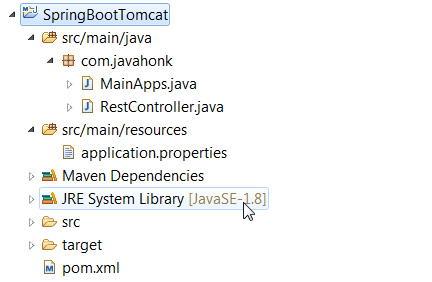
Create sample project name: SpringBootTomcat below is final project structure:
- Below is pom.xml file where dependency been included:
<project xmlns="http://maven.apache.org/POM/4.0.0" xmlns:xsi="http://www.w3.org/2001/XMLSchema-instance"
	xsi:schemaLocation="http://maven.apache.org/POM/4.0.0 http://maven.apache.org/xsd/maven-4.0.0.xsd">

	<modelVersion>4.0.0</modelVersion>
	<groupId>com.javahonk</groupId>
	<artifactId>SpringBootTomcat</artifactId>
	<version>0.0.1-SNAPSHOT</version>

	<properties>
		<project.build.sourceEncoding>UTF-8</project.build.sourceEncoding>
		<maven.compiler.source>1.8</maven.compiler.source>
		<maven.compiler.target>1.8</maven.compiler.target>
	</properties>

	<parent>
		<groupId>org.springframework.boot</groupId>
		<artifactId>spring-boot-starter-parent</artifactId>
		<version>1.4.0.RELEASE</version>
	</parent>

	<dependencies>
		<dependency>
			<groupId>org.springframework.boot</groupId>
			<artifactId>spring-boot-starter-web</artifactId>
		</dependency>

	</dependencies>

</project>
- By default if you don’t provide server port then tomcat will be started at localhost: 8080 and to overwrite this port you will have to create application.properties file insided src/main/resources enter below. I am overwriting 8080 port with 8090 port:
- application.properties:
server.port = 8090
- As to create RestFul service resource below is sample class: RestController.java:
package com.javahonk;

import org.springframework.boot.autoconfigure.EnableAutoConfiguration;
import org.springframework.stereotype.Controller;
import org.springframework.web.bind.annotation.RequestMapping;
import org.springframework.web.bind.annotation.ResponseBody;

@Controller
@EnableAutoConfiguration
public class RestController {

	@RequestMapping("/")
	@ResponseBody
	String home() {
		return "Hello World!";
	}

	@RequestMapping("/JavaHonk")
	@ResponseBody
	String homeTest() {
		return "Hello";
	}
}
- MainApps.java: Main class where application starts here you will to add whatever you wan to add and we have created only one resource here: RestController so adding only that one:
package com.javahonk;

import org.springframework.boot.SpringApplication;
import org.springframework.boot.autoconfigure.EnableAutoConfiguration;
import org.springframework.stereotype.Controller;

@Controller
@EnableAutoConfiguration
public class MainApps {

	public static void main(String[] args) throws Exception {

		Object [] source = {RestController.class};

		SpringApplication.run(source, args);
	}
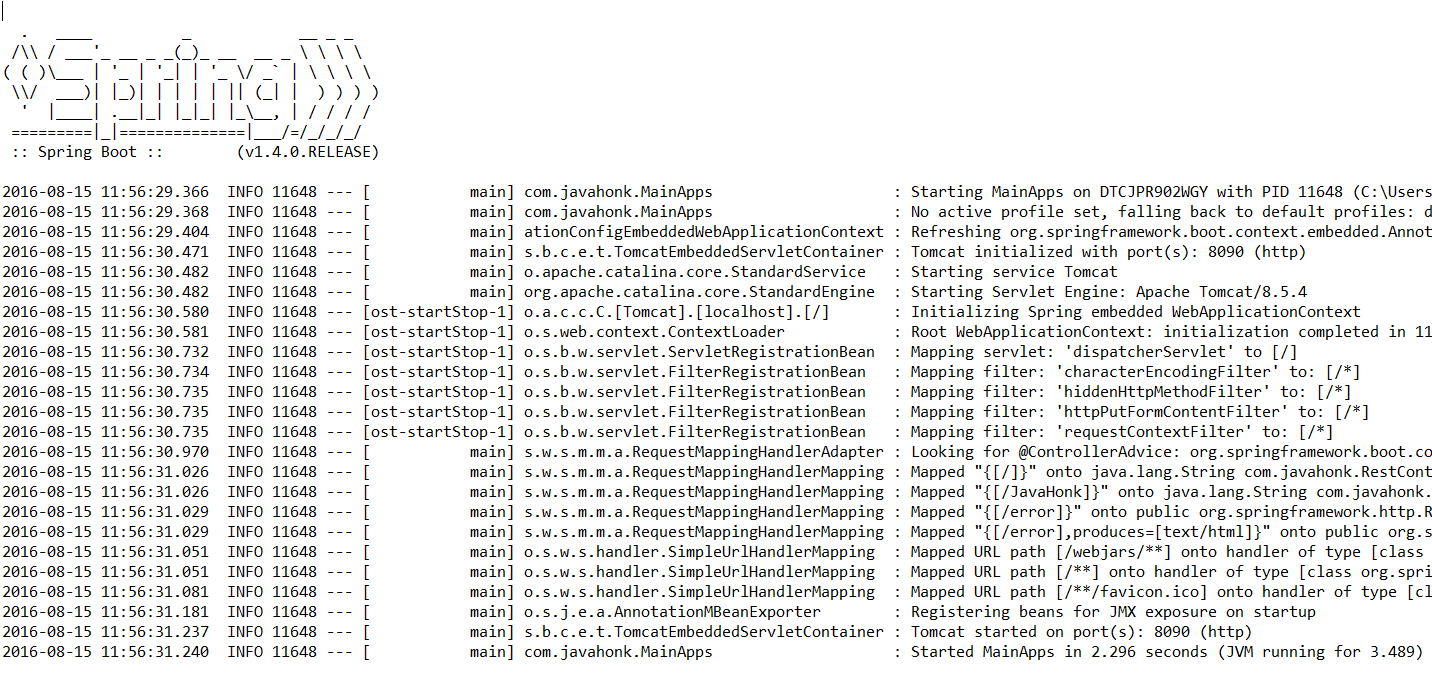
}- Now to run the program –> Right click MainApps.java –> Run As Java Application and if everything goes well you will see below out on console:
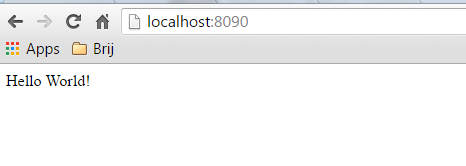
- Now to check RestFul resource go to browser type below:
- For more information please visit Spring Boot official site here
Download project: SpringBootTomcat


