Spring MVC Hello World Page Redirect
Below are needed to run Spring MVC Hello World Page Redirect:
- Eclipse 3.0 or above (Download eclipse from http://www.eclipse.org/downloads/ site)
- JDK 1.6 or above (Download from here: http://www.oracle.com/technetwork/java/javase/downloads/index.html)
- Tomcat 6 or above (Please follow link to install and configure tomcat in eclipse:Configure and Run Tomcat server in eclipse
- Spring jars which is already included in project for download in the bottom
Spring is very popular framework many companies are adopting it to develop their application. Below is simple spring 3 MVC application to show Hello World using page redirect:
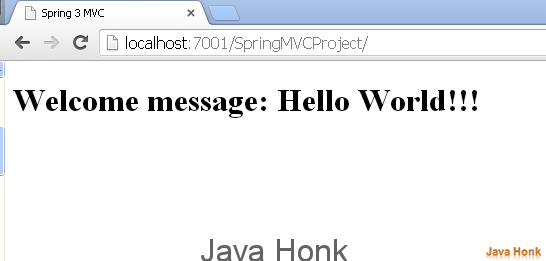
After all set up and configuration you will see below screen:
- Create dynamic web project in eclipse name: SpringMVCProject (Please use this link if you are not familiar how to create dynamic project in eclipse: Create Dynamic Web Project Eclipse)
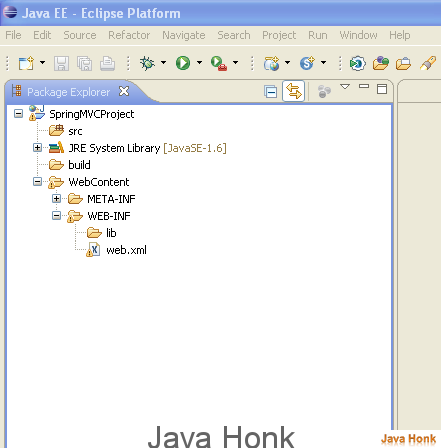
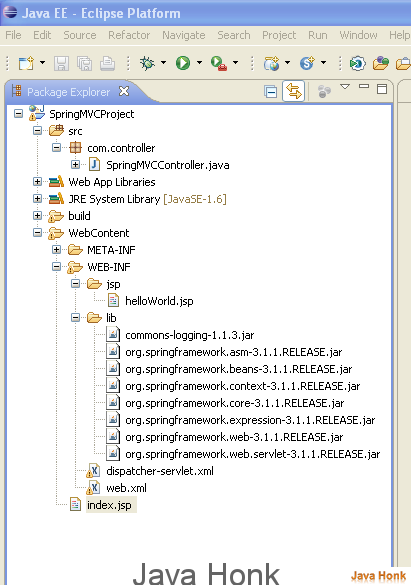
- Once you created dynamic web project in eclipse it should look similar to below
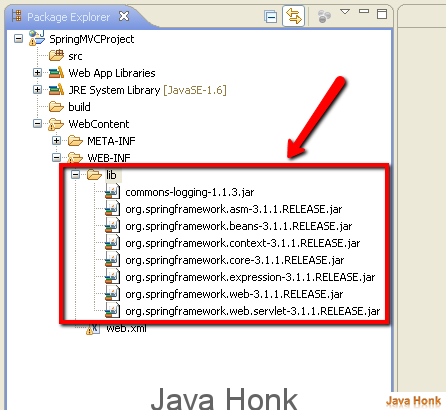
- Please copy below jars in lib folder (You could download project from the bottom it contains everything which is need for the project otherwise you could visit: http://projects.spring.io/spring-framework/ to download all jars)
- Please copy below XML into your web.xml file
<?xml version="1.0" encoding="UTF-8"?>
<web-app xmlns:xsi="http://www.w3.org/2001/XMLSchema-instance" xmlns="http://java.sun.com/xml/ns/javaee" xmlns:web="http://java.sun.com/xml/ns/javaee/web-app_2_5.xsd" xsi:schemaLocation="http://java.sun.com/xml/ns/javaee http://java.sun.com/xml/ns/javaee/web-app_2_5.xsd" id="WebApp_ID" version="2.5">
	<servlet>
		<servlet-name>dispatcher</servlet-name>
		<servlet-class>org.springframework.web.servlet.DispatcherServlet</servlet-class>
		<load-on-startup>1</load-on-startup>
	</servlet>

	<servlet-mapping>
		<servlet-name>dispatcher</servlet-name>
		<url-pattern>/</url-pattern>
	</servlet-mapping>

	<context-param>
		<param-name>contextConfigLocation</param-name>
		<param-value>/WEB-INF/dispatcher-servlet.xml</param-value>
	</context-param>

	<listener>
		<listener-class>org.springframework.web.context.ContextLoaderListener</listener-class>
	</listener>
</web-app>
- Now create file name: dispatcher-servlet.xml inside WEB-INF folder and copy and paste below content
<beans xmlns="http://www.springframework.org/schema/beans"
	xmlns:context="http://www.springframework.org/schema/context"
	xmlns:xsi="http://www.w3.org/2001/XMLSchema-instance"
	xsi:schemaLocation="
        http://www.springframework.org/schema/beans
        http://www.springframework.org/schema/beans/spring-beans-3.0.xsd
        http://www.springframework.org/schema/context
        http://www.springframework.org/schema/context/spring-context-3.0.xsd">

	<context:component-scan base-package="com.controller" />

	<bean
		class="org.springframework.web.servlet.view.InternalResourceViewResolver">
		<property name="prefix">
			<value>/WEB-INF/jsp/</value>
		</property>
		<property name="suffix">
			<value>.jsp</value>
		</property>
	</bean>

</beans>
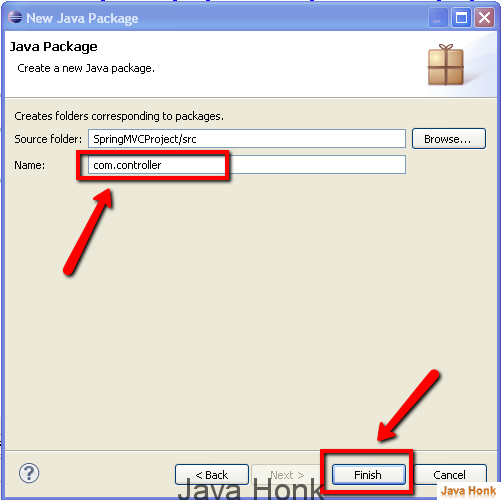
- Create package name com.controller inside src folder
- Create class name: SpringMVCController.java and copy paste below content in it
package com.controller;

import org.springframework.stereotype.Controller;
import org.springframework.ui.ModelMap;
import org.springframework.web.bind.annotation.RequestMapping;
import org.springframework.web.bind.annotation.RequestMethod;

@Controller
public class SpringMVCController {
	@RequestMapping(value="/helloWorld.web",method = RequestMethod.GET)
	public String printWelcome(ModelMap model) {

		model.addAttribute("message", "Hello World!!!");
		return "helloWorld";

	}
}
- Create jsp folder inside WEB-INF folder
- Create jsp file name: helloWorld.jsp and copy paste below content in it
<%@ page language="java" contentType="text/html; charset=ISO-8859-1"
    pageEncoding="ISO-8859-1"%>
<!DOCTYPE html PUBLIC "-//W3C//DTD HTML 4.01 Transitional//EN" "http://www.w3.org/TR/html4/loose.dtd">
<html>
<head>
<meta http-equiv="Content-Type" content="text/html; charset=ISO-8859-1">
<title>Spring 3 MVC</title>
</head>
<body>
<h1>Welcome message: ${message}</h1>
</body>
</html>
Create index.jsp inside WebContent folder and copy paste below code in index.jsp page
<%@ page language="java" contentType="text/html; charset=ISO-8859-1"
    pageEncoding="ISO-8859-1"%>
<!DOCTYPE html PUBLIC "-//W3C//DTD HTML 4.01 Transitional//EN" "http://www.w3.org/TR/html4/loose.dtd">
<%@taglib uri="http://www.springframework.org/tags/form" prefix="form"%>
<html>
<head>
<meta http-equiv="Content-Type" content="text/html; charset=ISO-8859-1">
<title>Spring MVC Project</title>
</head>
<body>
<form:form method="GET" id="helloWorld"  action="/SpringMVCProject/helloWorld.web">
<input type="submit" value="Redirect Page"/>
</form:form>
</body>
</html>
You’re done. Final directory structure should be same as below:
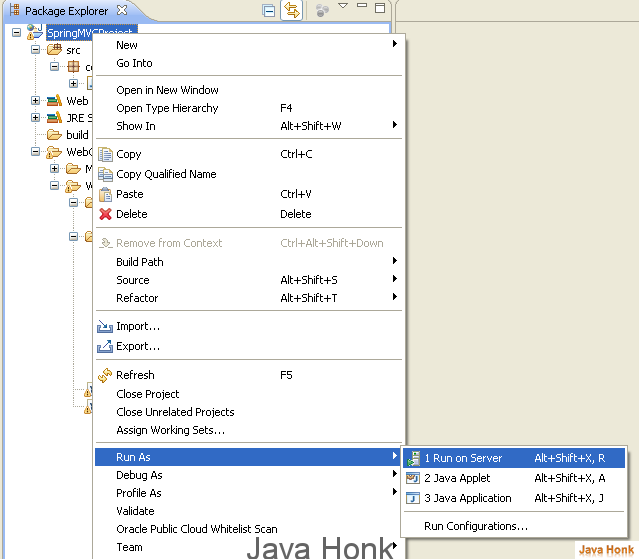
Now it’s time to run this set up in tomcat server. If you haven’t done tomcat set up in eclipse yet please use this link:Configure and Run Tomcat server in eclipse. Now right click project –>Run As –> Run on server. Below is reference:
Finally you should see below redirect page.
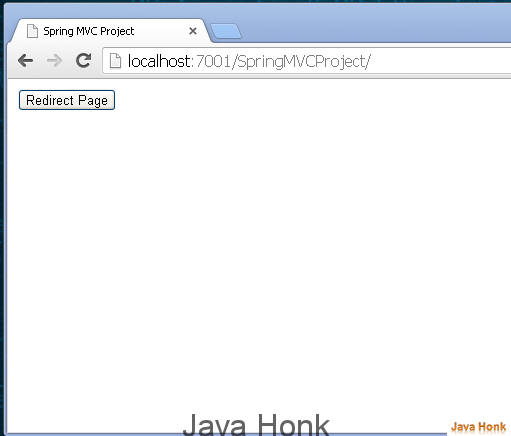
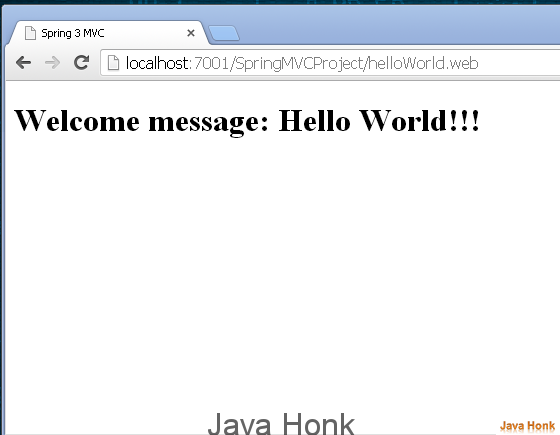
Click Redirect Page button you would see below Hello World message:
![]() Download Project: SpringMVCProject
Download Project: SpringMVCProject
Note: If you download project code from below and import in your eclipse could see some exception, if you are using different version of JDK, ECLIPSE and Web server. Please use below link to sort out any issues:
- Target runtime Apache Tomcat is not defined
- Unbound Classpath container
- java.lang.UnsupportedClassVersionError
- Java Compiler Level not match Java Project facet
